Dear Reader (2023-02-12 – edited 2023-12-14),
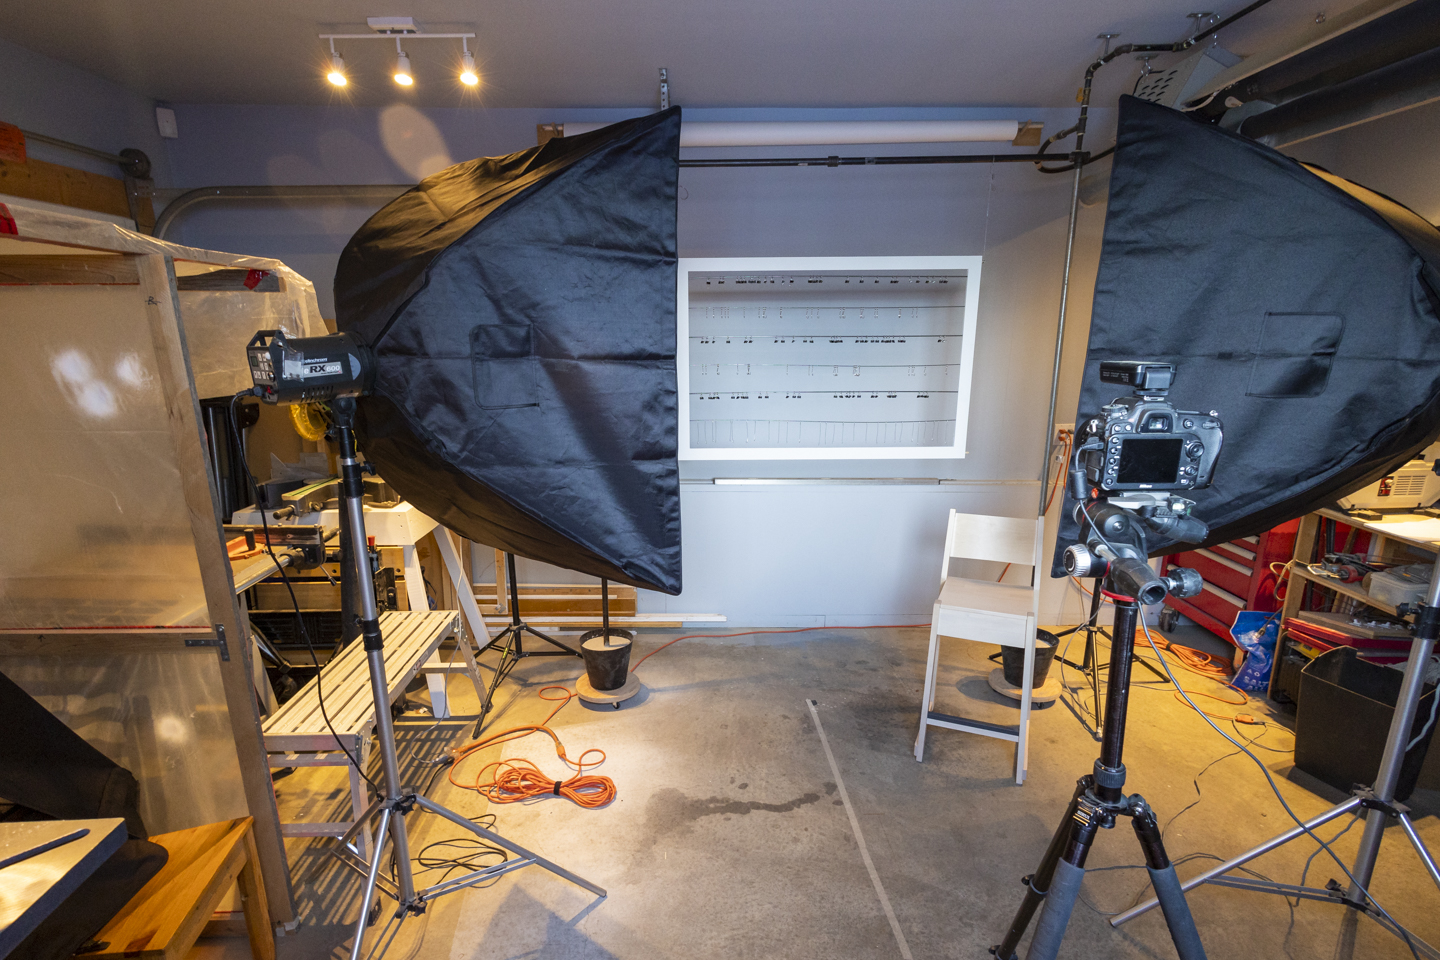
First of all, thank you to all those who came out for my Artist’s Talk yesterday. Here is the long drawn out illustrated tale, which I mentioned, of how the frame got built. No, the preview image has nothing to do with this post – it is a shameless attempt to get your attention.
I invite you to grab a beverage of your choice as this may take a while. Even though this post is written in the present, it began around 13 months ago when the studio had been calling me for a while, but I had and still have a space problem.
I could get rid of potentially useful stuff and seldom used tools, but then what of the regret of tossing out something too soon. There is a small room under the basement stairs than has been a bit of shambles for a decade of two. I could with some effort move a garage shelf into this room, build some narrow shelves, and then I could move a pile of sand from one place to another. Then there was the “Honey, while you’re working in the basement it would be really nice if you could put the dry wall back behind the washing machine”.
I had removed the drywall a while ago (longer than the other day) when there had been a problem with a previous washing machine. Drywall got wet – studs got wet. As with many things the solution was non-trivial. Given that we had had water problems before, I decided to use masonry / cement board instead of drywall. Cement board has the single advantage of being impervious to water. Other than that, it is truly ugly stuff to work with. It weighs just under a ton per square foot. Carrying the boards up and down the stairs damaged my right knee. The boards cannot be cut or drilled with regular blades and bits. I would have had less dust if I had just thrown a 5kg bag of flour over everything in the garage. It is nasty dirty dusty unforgiving crap to work with. The moral of the story is don’t even let the thought of masonry board cross your mind.
Now to the problem with the mitre saw. The stand it is on takes up too much space. I could build a smaller stand and then the saw and stand would take up less space. Ah but wood has become expensive, and I also needed a piece of ¾” mdf roughly 3 ft by 4 ft, for one of the projects in this sequence.
When our now grown son was young, he loved bouncing on his bed. In fact, he loved it so much no box spring mattress was safe. I built a platform bed for him under which there were 3 large drawers on wheels, for his toys and books. Where the Wild Things Are was a favourite book of his. Sitting on top of the platform there was a thick comfortable foam mattress. Our son had years of comfortable sleeps. Time passed and I thought of giving the bed away. Someone did come and look at it. They would have been unable to move it without a forklift and our house isn’t designed to support or fit one of those. I spent a day taking the bed apart. Now I had some plywood and mdf.

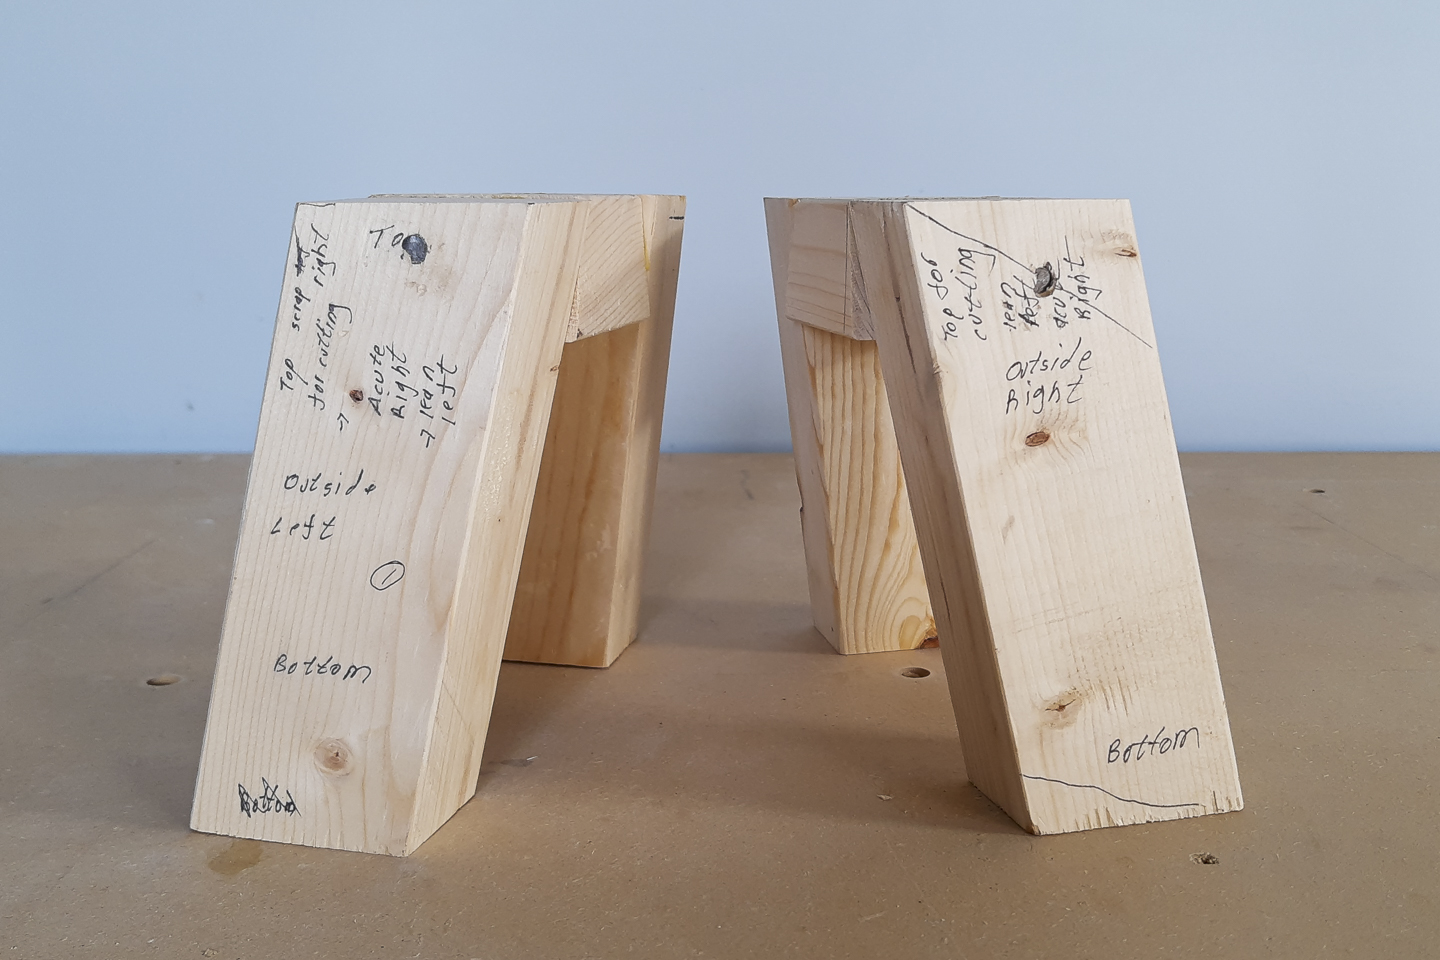
Along with reclaimed wood, a couple of 2 x 3s and a length of 2 x 6, I could build the mitre saw stand. But as I didn’t know what I was doing I first made a maquette, in order to visualize the required compound mitre cuts. As I am sure at least some of you can imagine there were multiple ways I could screw this up.
For the next project we have to go back in time to “A Neurosis or Two” from April 21, 2020. That frame has not aged well. It has twisted and warped, and therefore a flat plane of focus is now impossible.
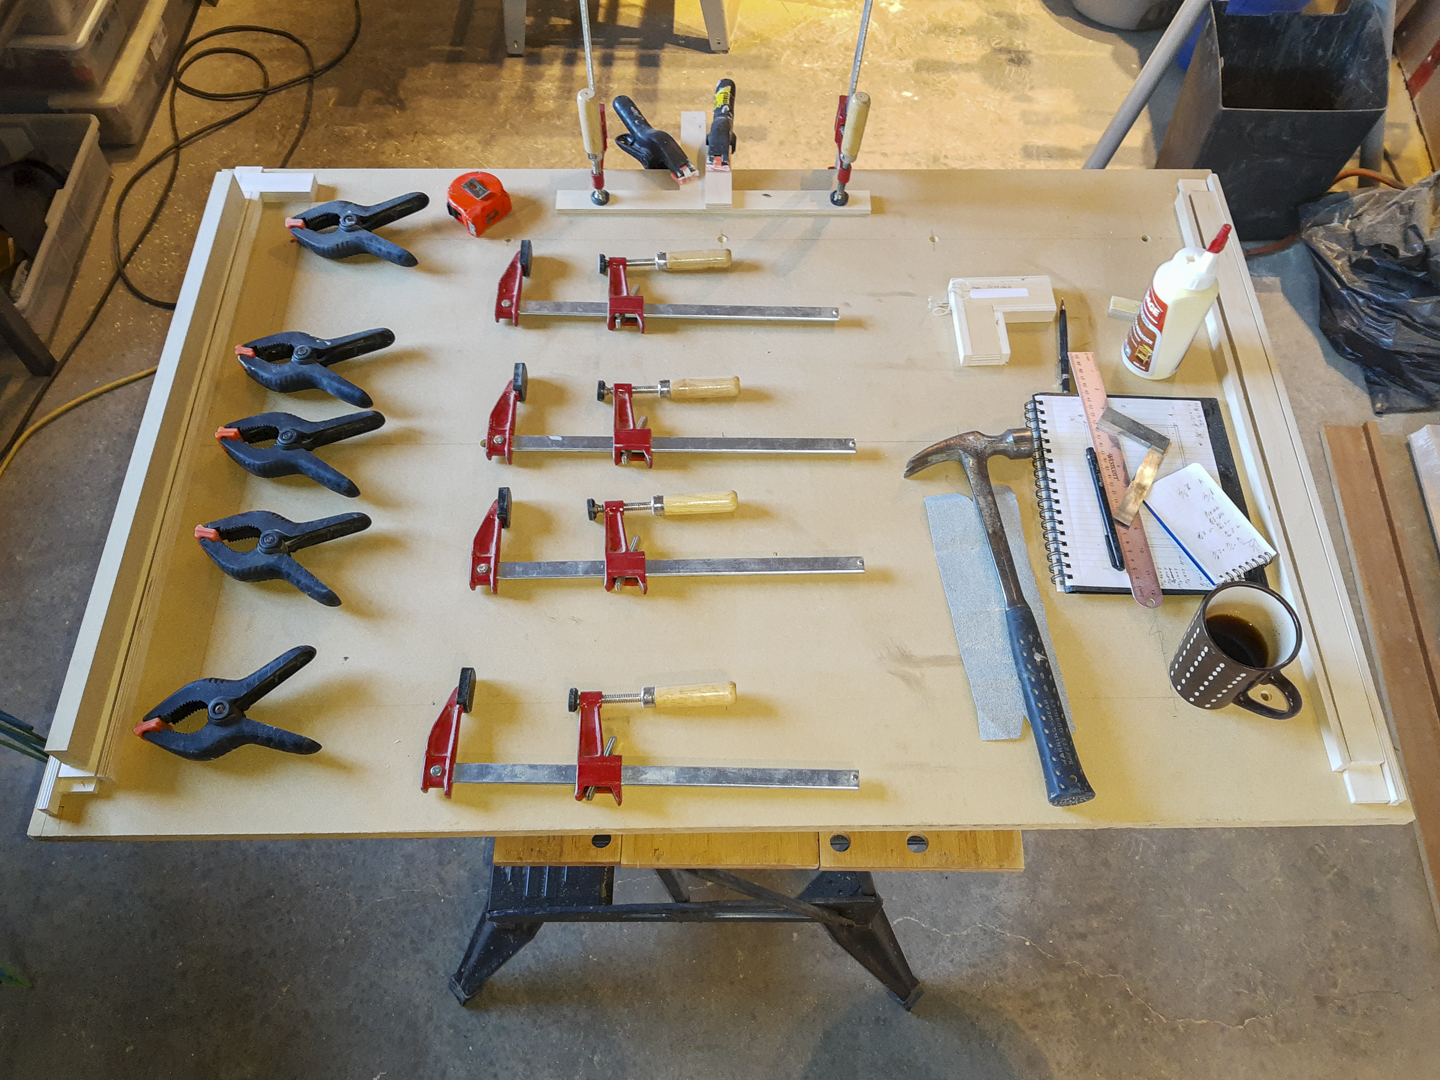
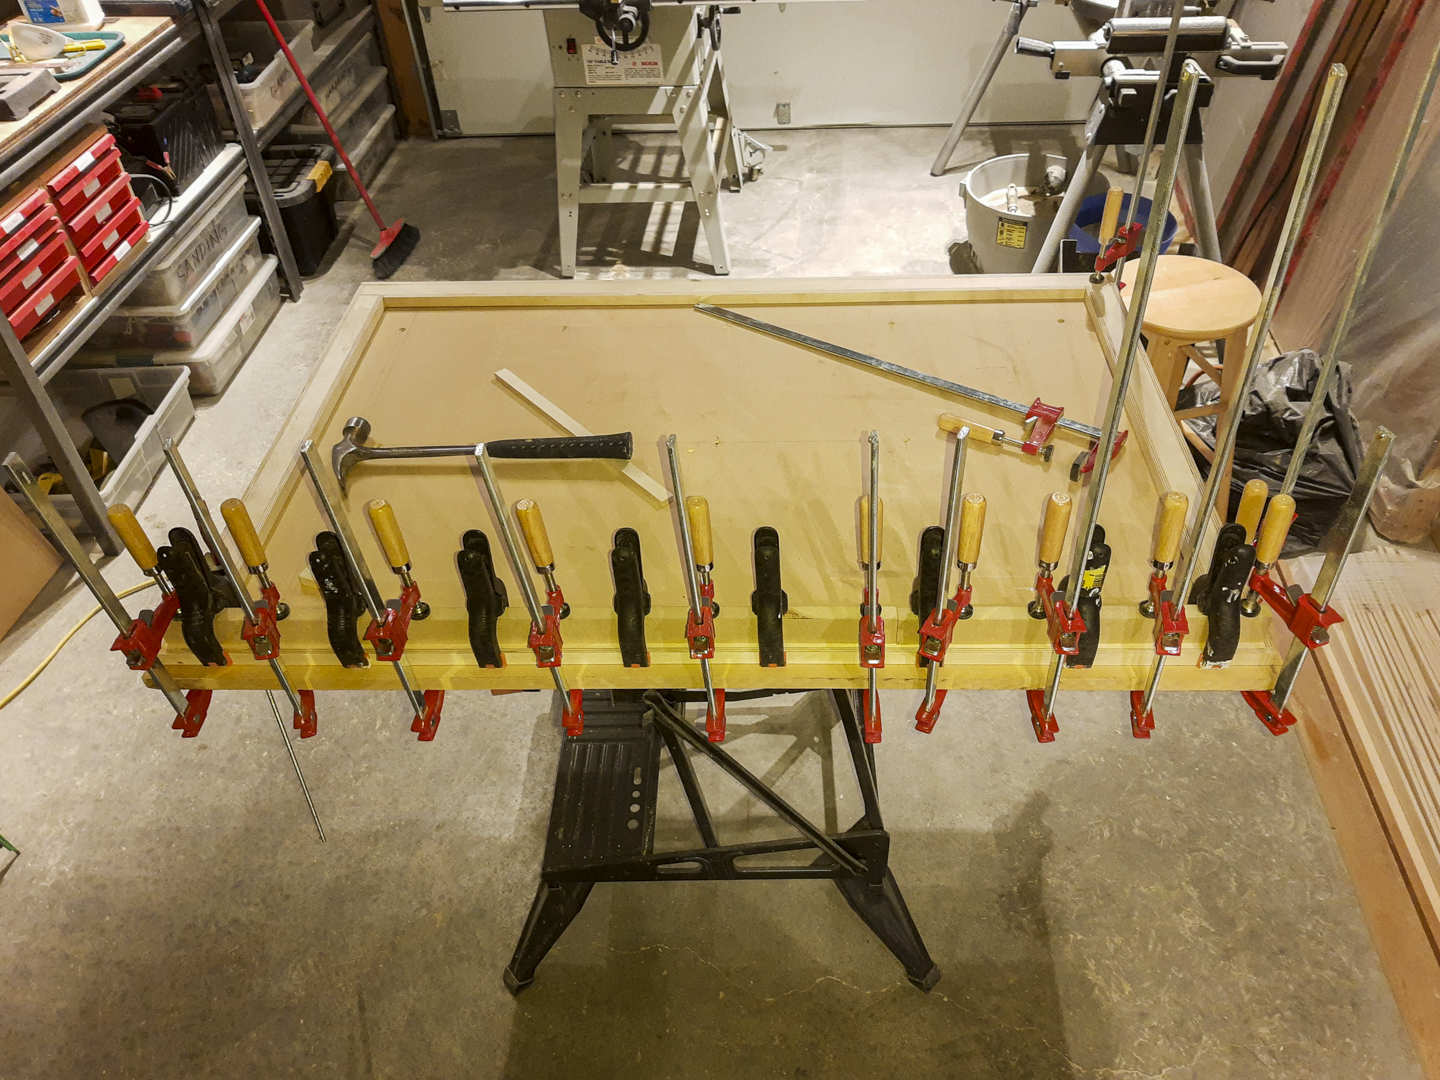
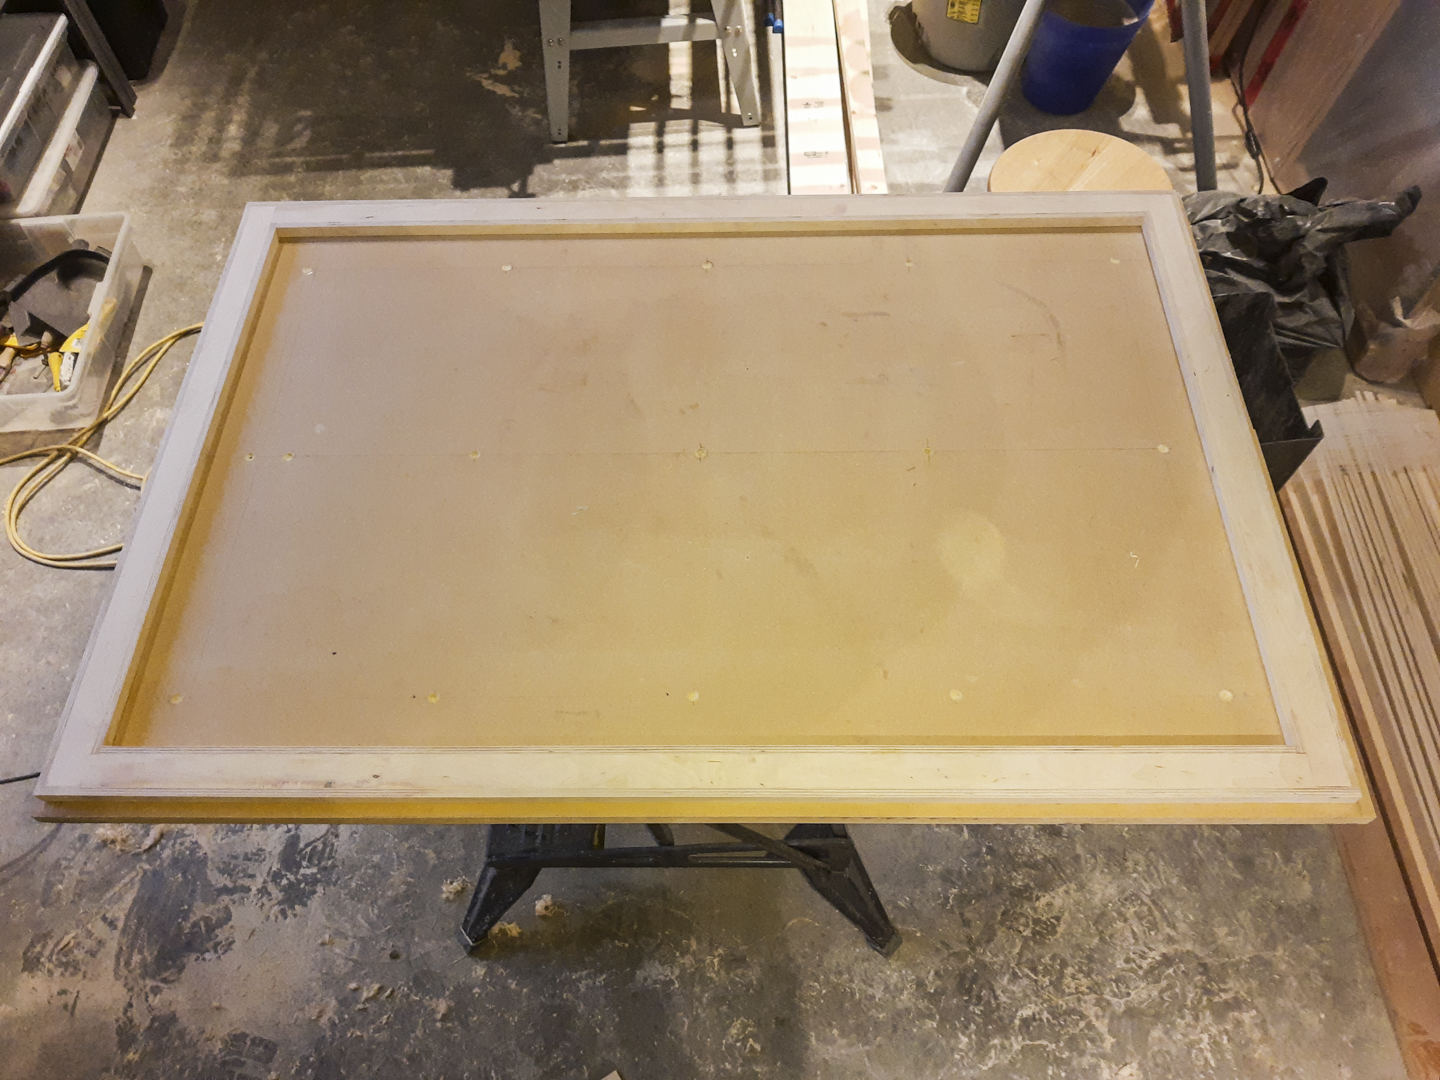
Remember that 3 ft. by 4 ft piece of mdf from an earlier paragraph. A simple frame kept that nice and flat.
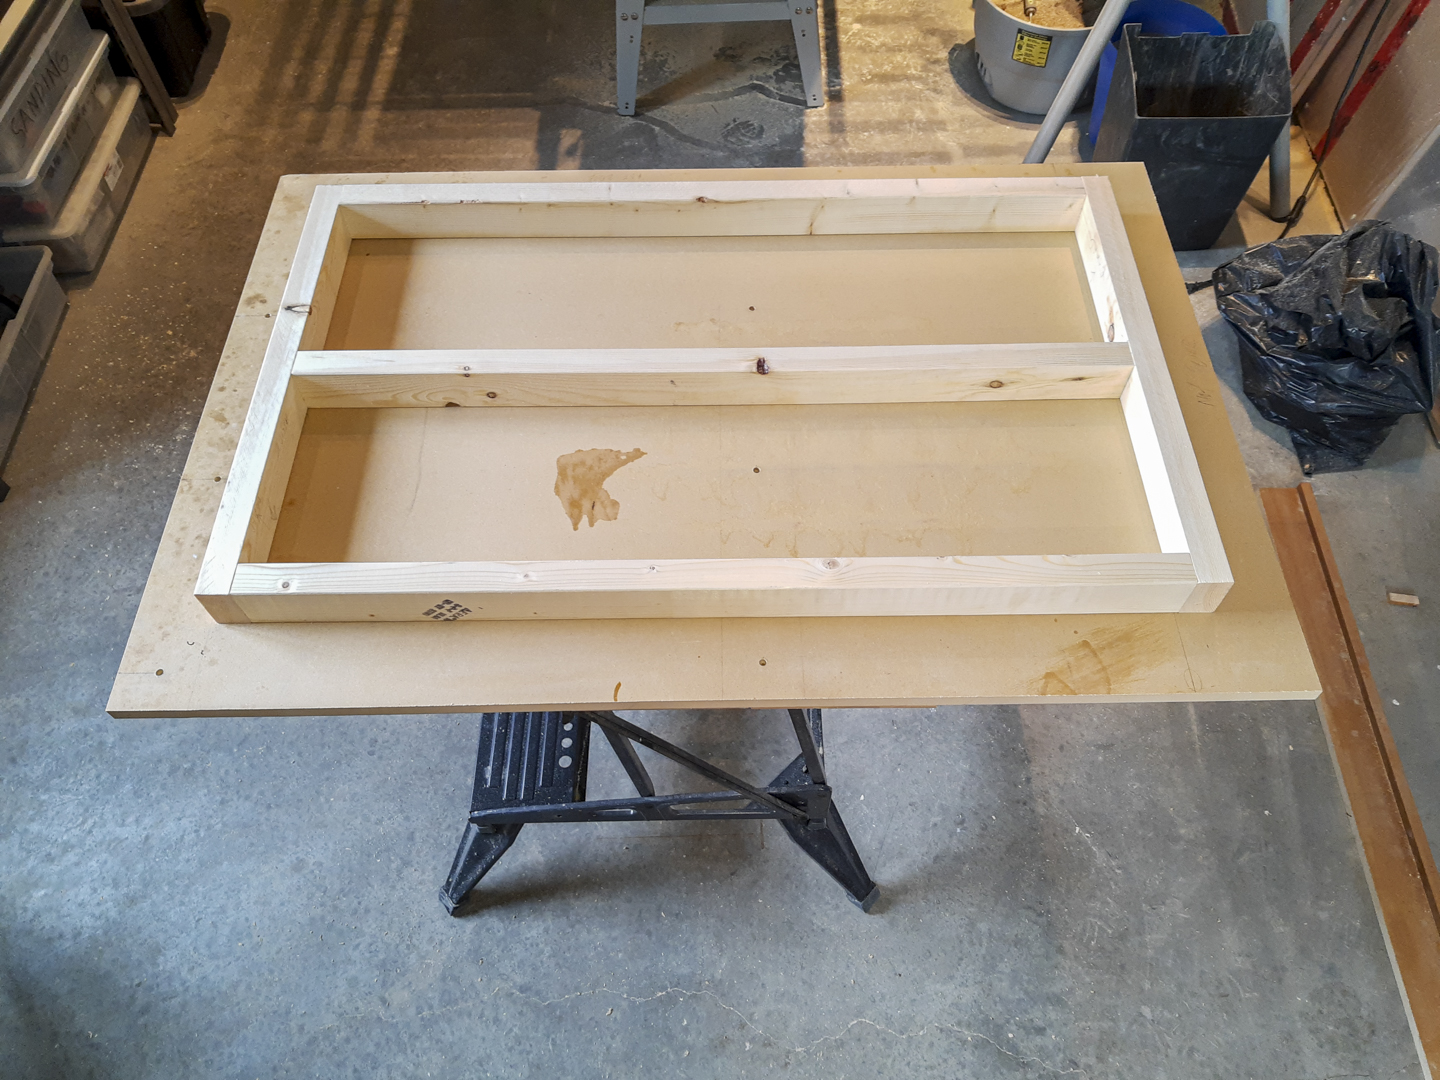
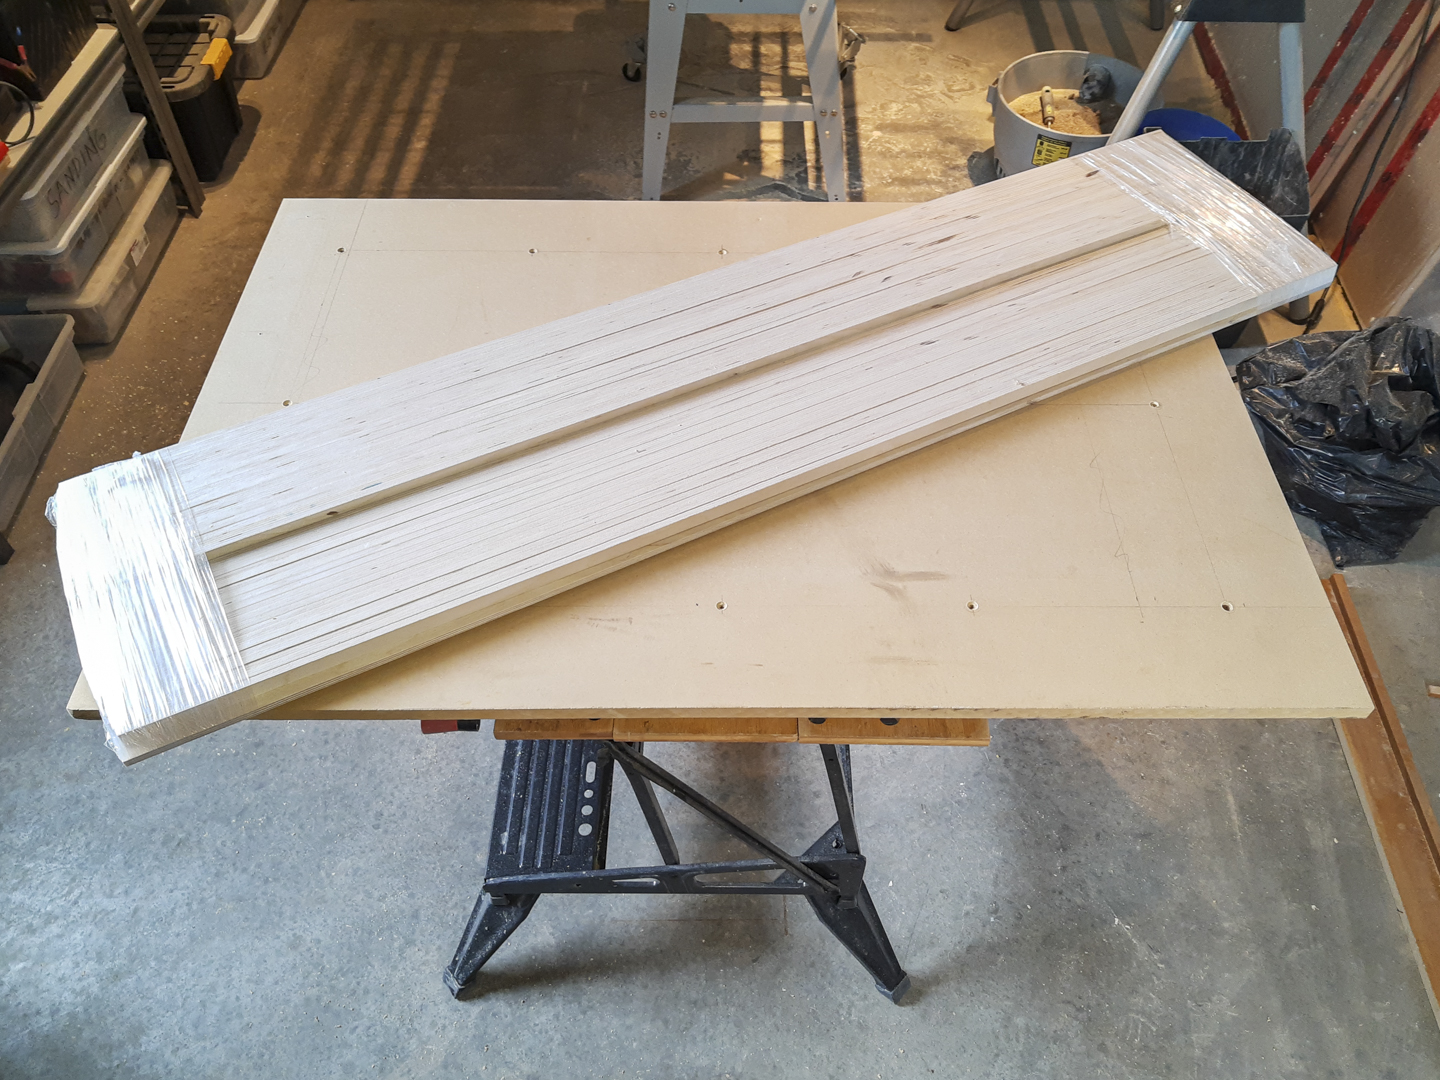
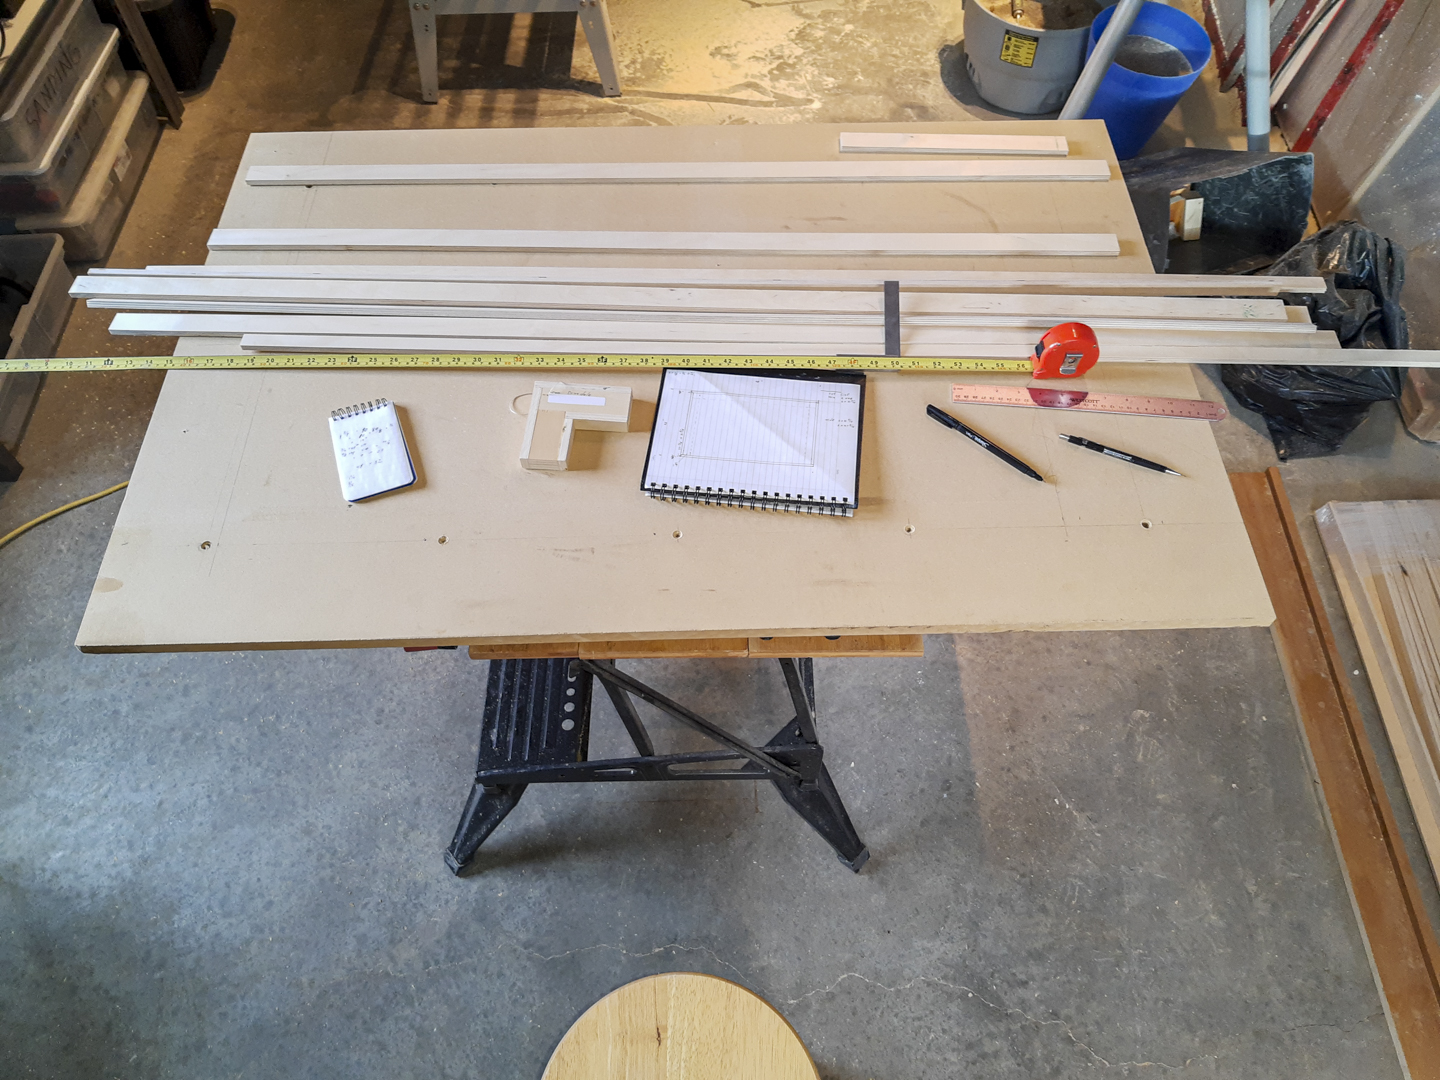
Plywood is an interesting material. It is dimensionally stable, and has a consistent thickness. Long and thin pieces of plywood bend, but two pieces of plywood glued perpendicular to each other will form a straight and rigid component. By building up a couple of layers of 3/8 plywood, sandwiched between 2 vertical pieces of plywood I could create an edge with a cross-section of a box. Another maquette was in order. With maquette in hand, I went to see the good people at Windsor plywood who sliced up some 3/8” plywood for me.
As I don’t have enough clamps to glue up a frame all in one fell swoop, each edge was glued up separately.
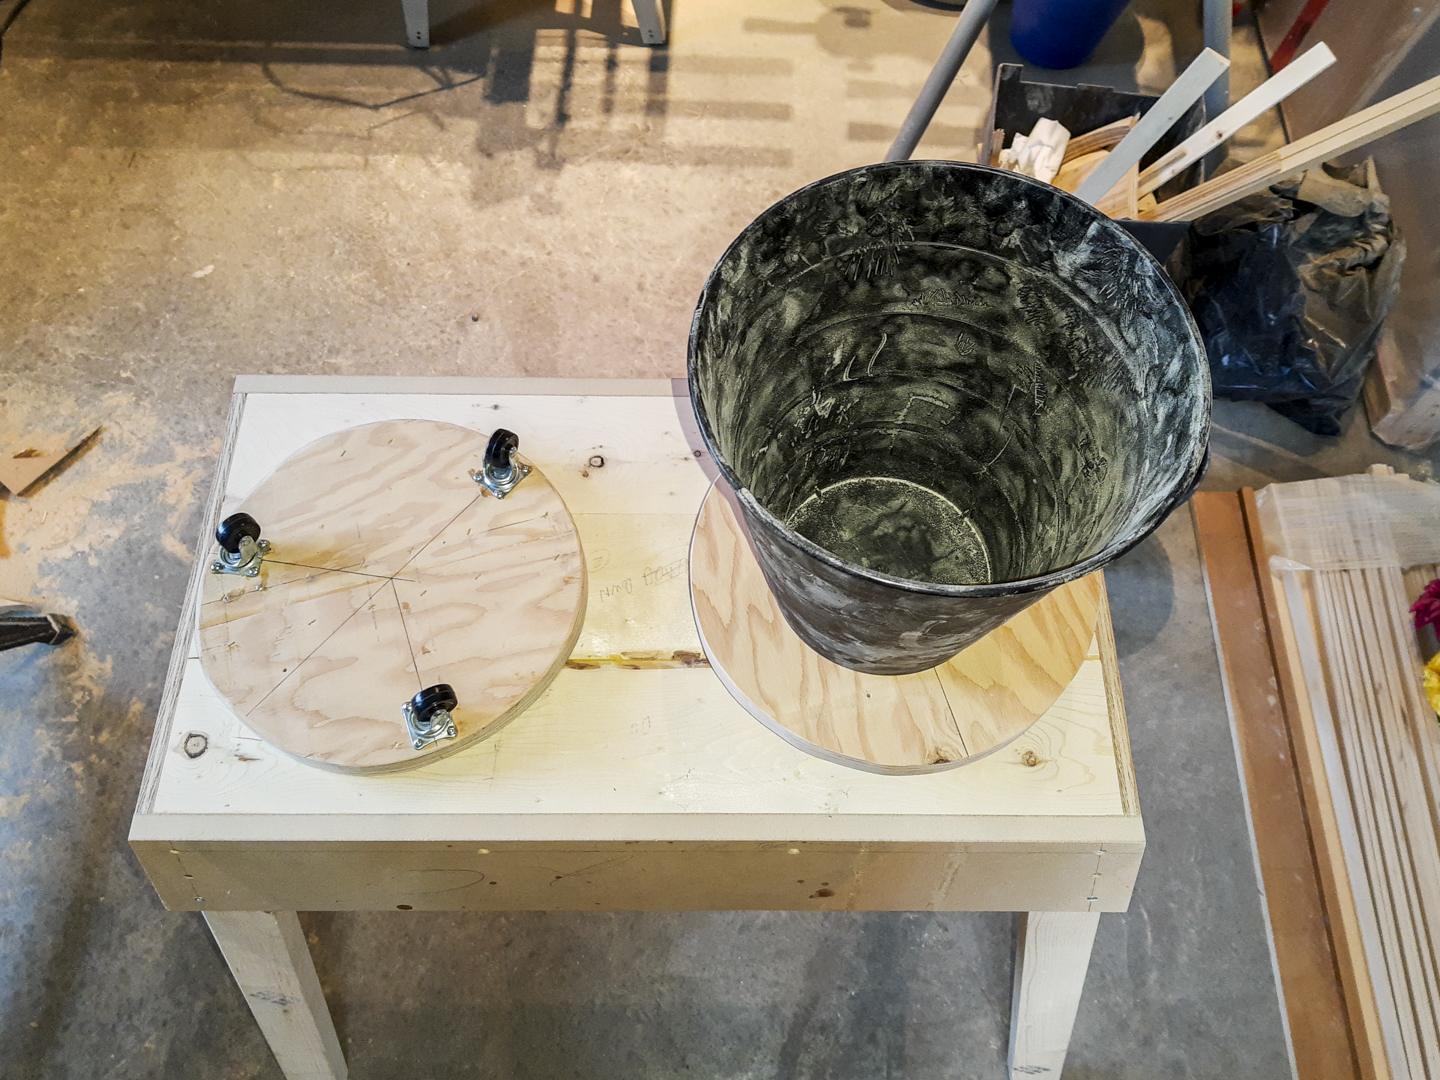
That leaves two of one more thing. There is still plywood from the bed. I have a box of wheels, some of which were recovered and some were bought, and I have pipe clamps. I bought 3 cheap plastic waste baskets from Ikea. I only need two, but I have visions of things not going according to plan.
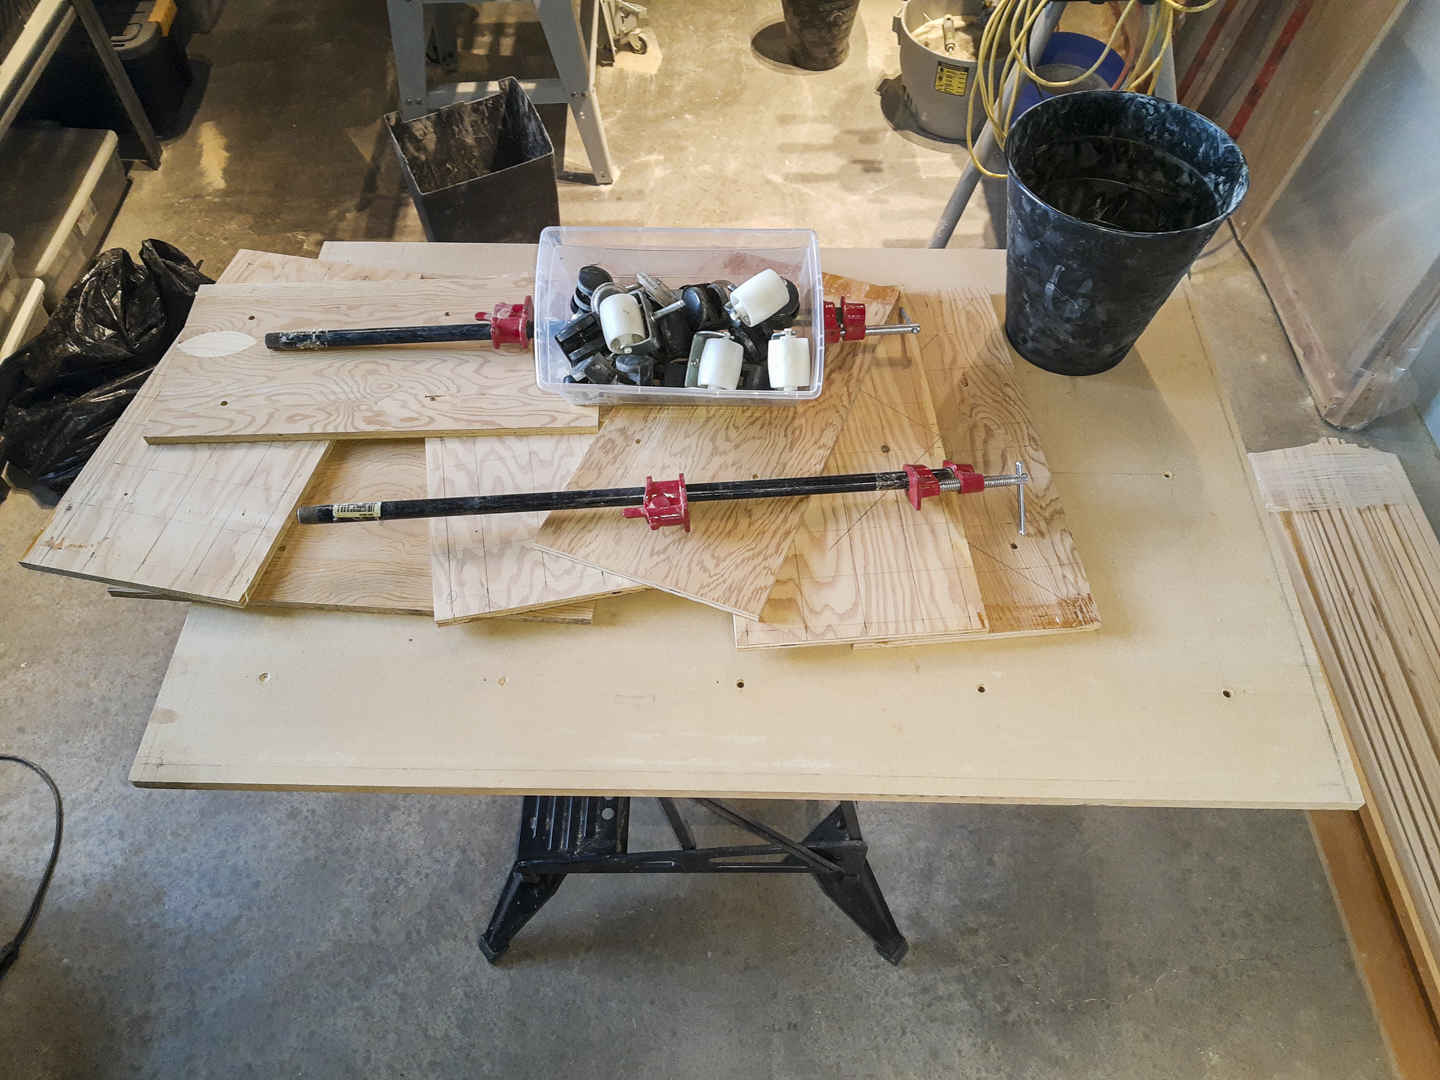

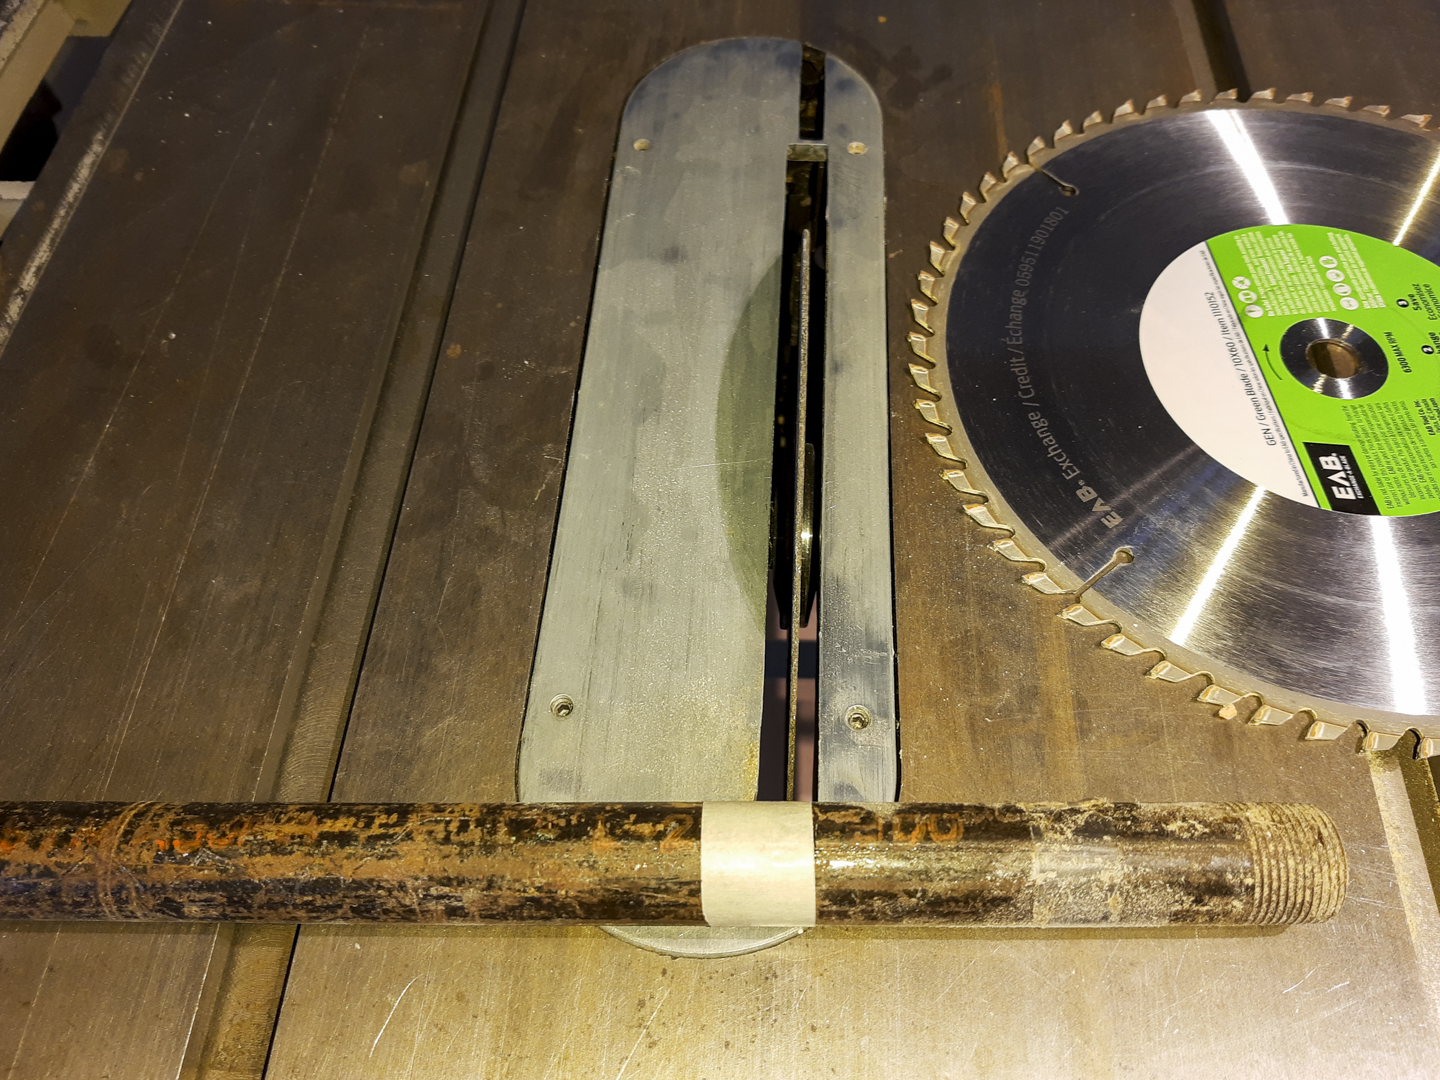
Though I have done it before, I am always a little apprehensive using the table saw to cut metal. There is something about creating sparks around sawdust that should make everyone really nervous.
The only thing missing now is some concrete.
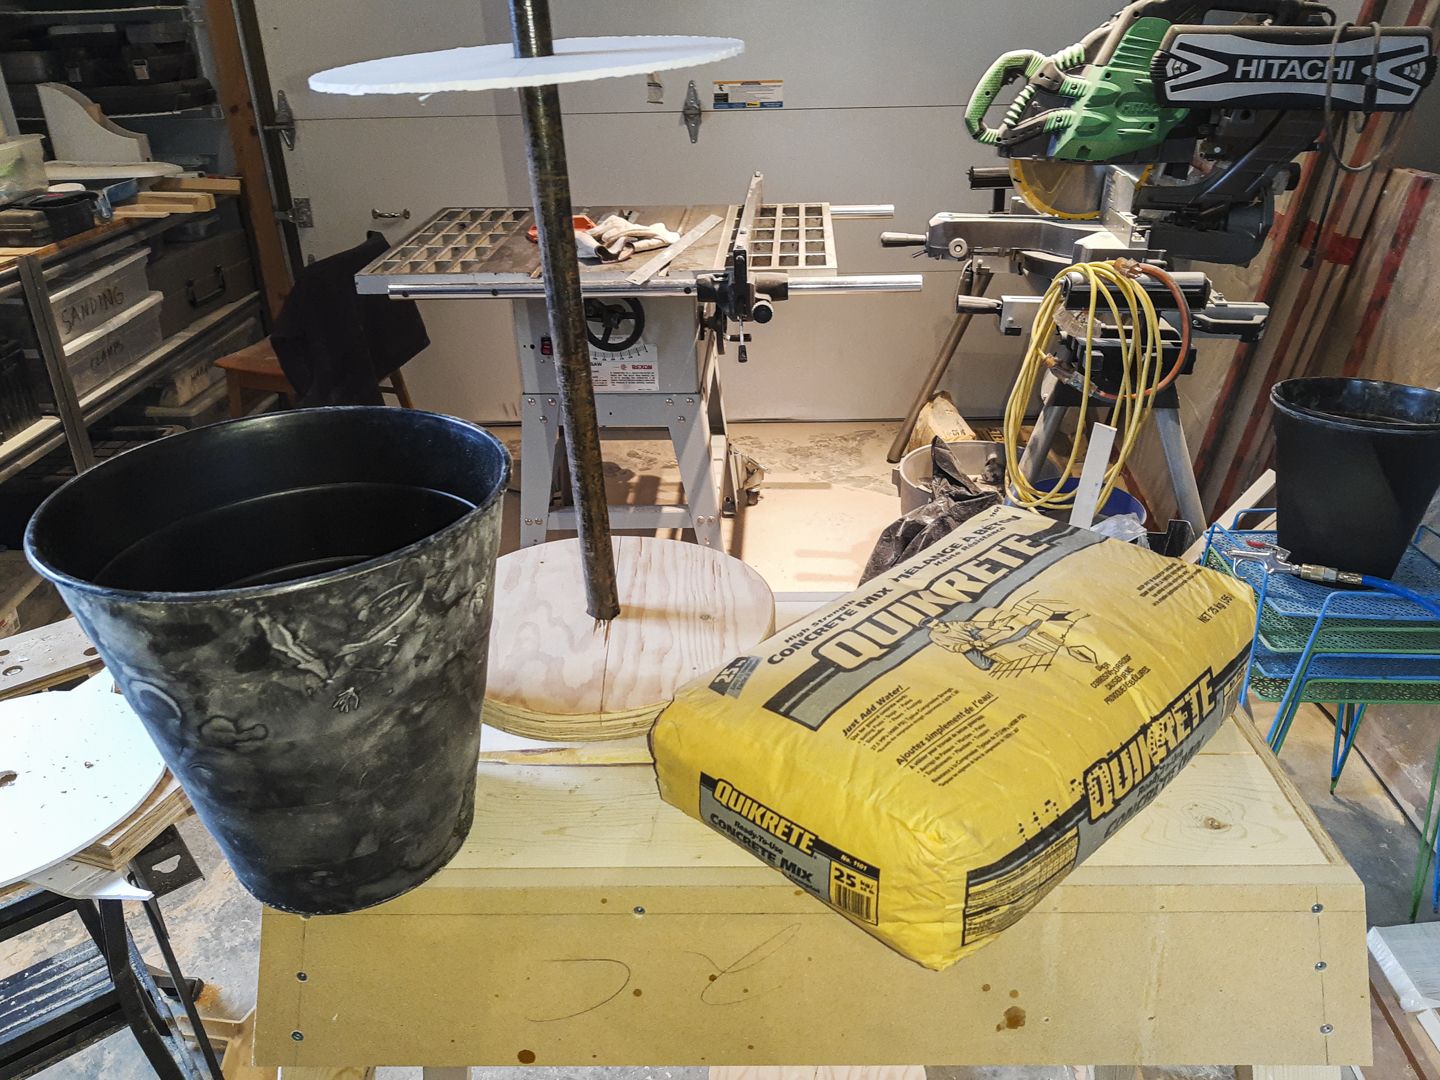
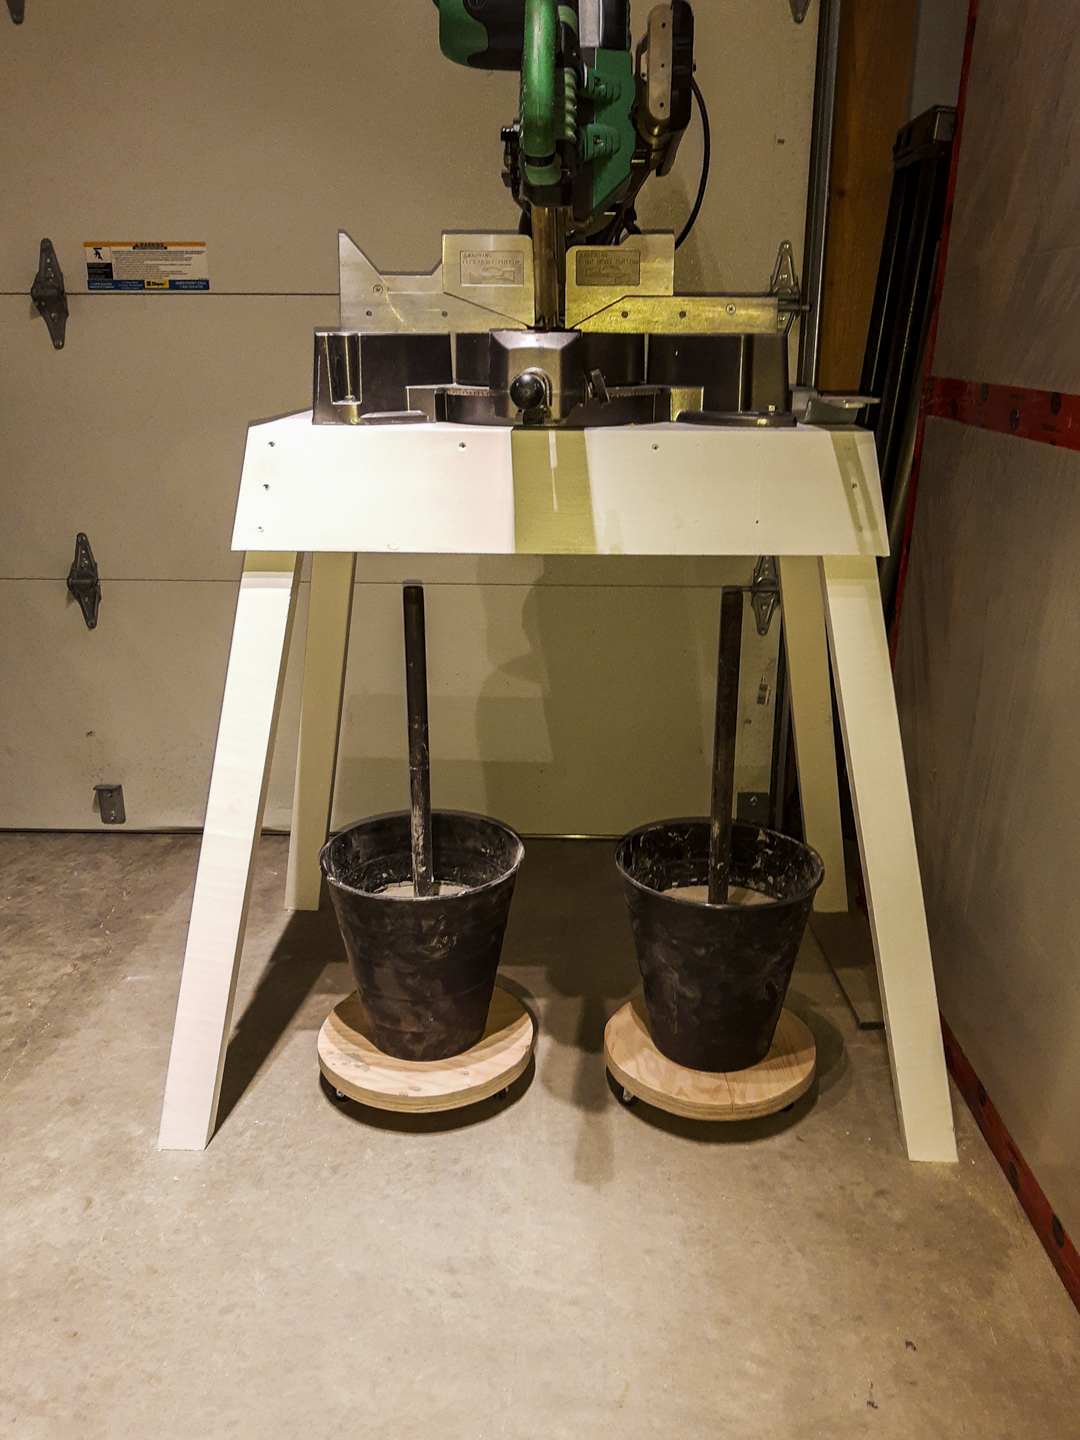
Success. Two waste baskets on wheels each half filled with concrete and a piece of threaded pipe coming up the centre. They even fit under the mitre saw, as if by design.
A little painting in the home-made collapsible paint booth. Voila, a new frame. Now how difficult was that?
Some of you may look at this logical sequence of images and text and think how organized it all seems. There is a natural flow from one task to another. Let me quickly dispel that myth. Like most of my undertakings I make stuff up as I go along. Blades break. There are numerous trips to some combination of Rona, Lowes, Home Depot, and occasional visits to KMS Tools and Lee Valley. There are frequent tidy-up sessions because things get to the point of being at best tripping hazards. And then there are of course the oh shit that didn’t work. The Oatmeal (https://theoatmeal.com/comics/creativity_erasers) has a great map of the actual creative process.
You are welcome to share a link to this page with others.
As always, all comments are welcome and sought.
Cheers, Sean
My note on privacy can be found under the “About” menu item, and if you would like to subscribe to this blog please enter your email.
.
All rights for all material on any media reserved – © Sean P Drysdale 2020-2024
I have occasionally attempted to document a process that I was involved in doing. I can usually do a photo of the before and after states. In between is difficult because I’m wrapped up in the doing. It would not be a surprise to have my hands so filthy I don’t want to touch a camera.
Then there are the people that produce videos of them doing stuff, and my brain hurts. I would never even attempt such a thing.
None the less, this view behind the scenes is quite interesting. I had read this before going to your exhibit, and have just now read it after seeing your exhibit. I found myself in the interesting place of looking at the photos, and thinking of them as the actual thing, and wondering why nothing was moving.
Thank you for visiting the show and this post, and commenting. I look forward to talking more.
So glad I stayed in the house. Your loving wife.
It is a good thing we have separate studio spaces. Your loving husband.
Thank you for sharing this, Sean.
You are welcome. Thank you for visiting and commenting.